Photoshoot guide
How to pose for a photoshoot like a model
Updated 13 Nov 2026 · 7 min read · Poses4You team
Learning how to pose for a photoshoot starts before the camera comes out. A shoot runs longer than a snapshot, with outfit changes, a photographer giving direction and a list of shots to get. Models handle it in three stages: they plan their poses, practice them and keep moving between frames on set.
This guide follows that order, and each tip ties to a real intermediate pose with the two cues from its pose page. Use it for a portfolio session, a brand shoot or a birthday shoot with a friend behind the camera.
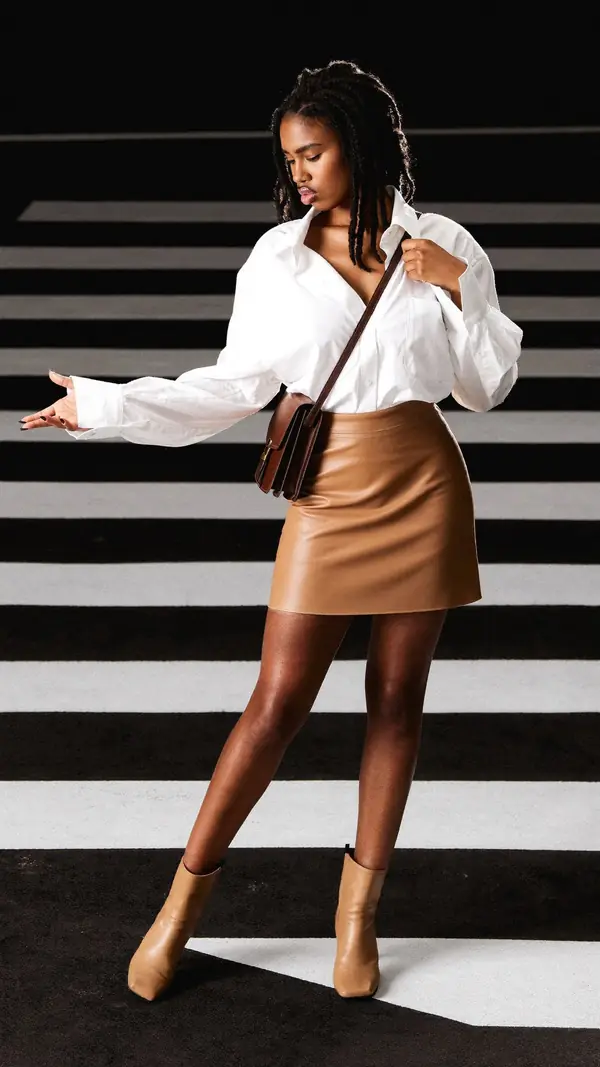
- P-13119
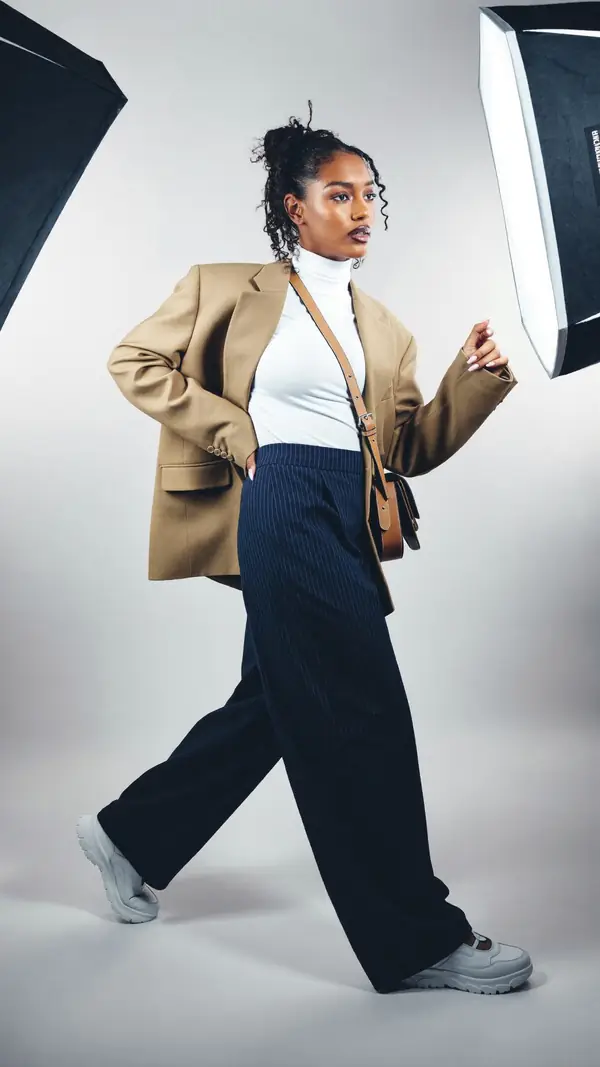
- P-13487
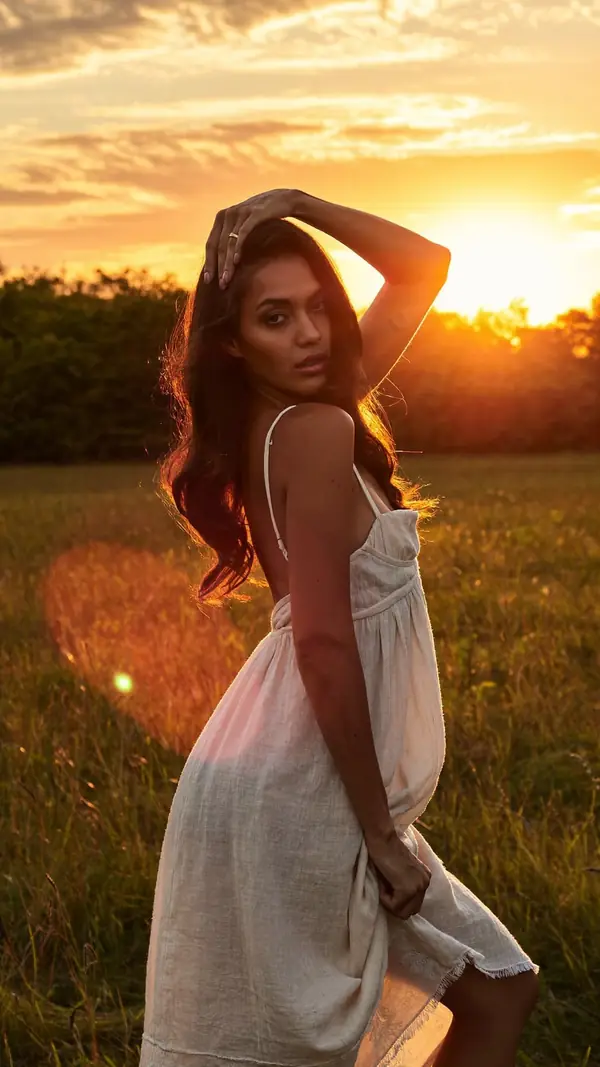
- P-13256
Part 01 / 09
How to pose for a photoshoot: plan before the day
Most of the posing work happens before the shoot. These steps run in order, from the first idea to a packed bag.
- 1
Agree on what the photos are for
A portfolio, a brand launch and a birthday gift each need a different mood. Settle the use, the mood and the number of outfits with your photographer first.
- 2
Collect poses on a board
Save the poses you like in Poses4You, one board per shoot. Go through the board with your photographer so you both agree on the look and feel before the day.
- 3
Practice each pose in a mirror
Run each pose a few times and learn its two cues by heart. On the day, you reach the shape sooner and can spend your energy on expression.
- 4
Choose outfits that move
Pick clothes that let you walk, sit on the floor and lift your arms. A long coat, a wide skirt or loose trousers turn a walking pose into movement.
- 5
Pack for the poses
Bring what the poses need: a stool, a jacket to hold, glasses or a second pair of shoes. Charge your phone the night before, since the board goes with you on set.
- 6
Prep hair, makeup and hands
Hands show up in most poses, so tidy nails and moisturized skin are worth the time. Pick hair and makeup that suit the mood you agreed on, and check them in daylight before you leave.
Part 02 / 09
How to pose like a model on set
Standing poses look more natural with movement in them, so these four add a step, a reach or a lean.
Take a long step
Walk past the camera instead of standing still. The cue "Long step, front leg reaching" stretches the line of the body from heel to head. Keep the "Back hand tucked at hip" so the arm stays close, and ask for the shot in profile.
P-13487 cue"Long step, front leg reaching"
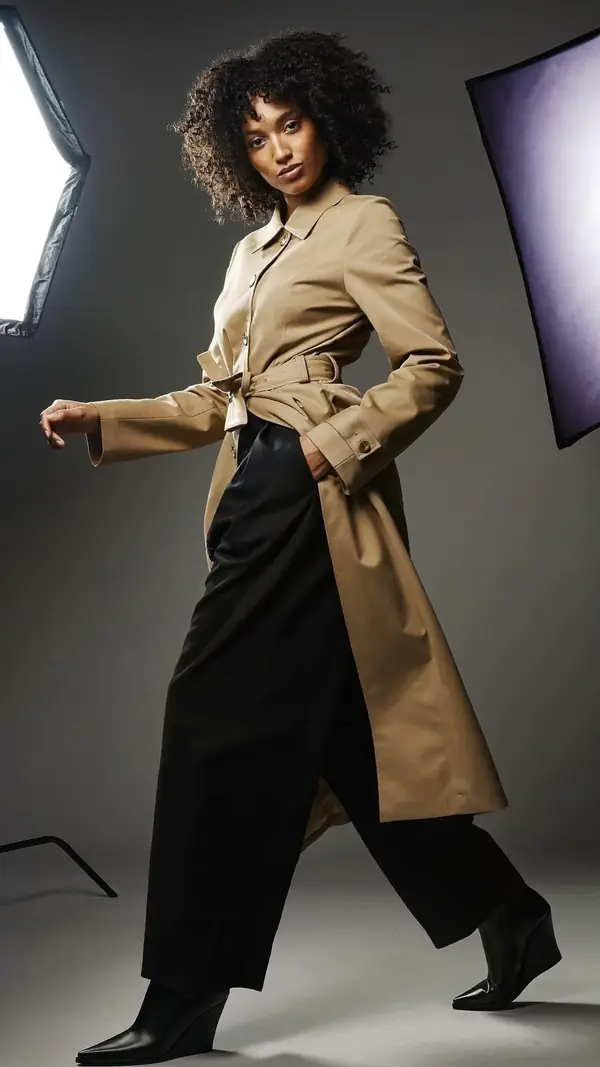
Lift the back heel
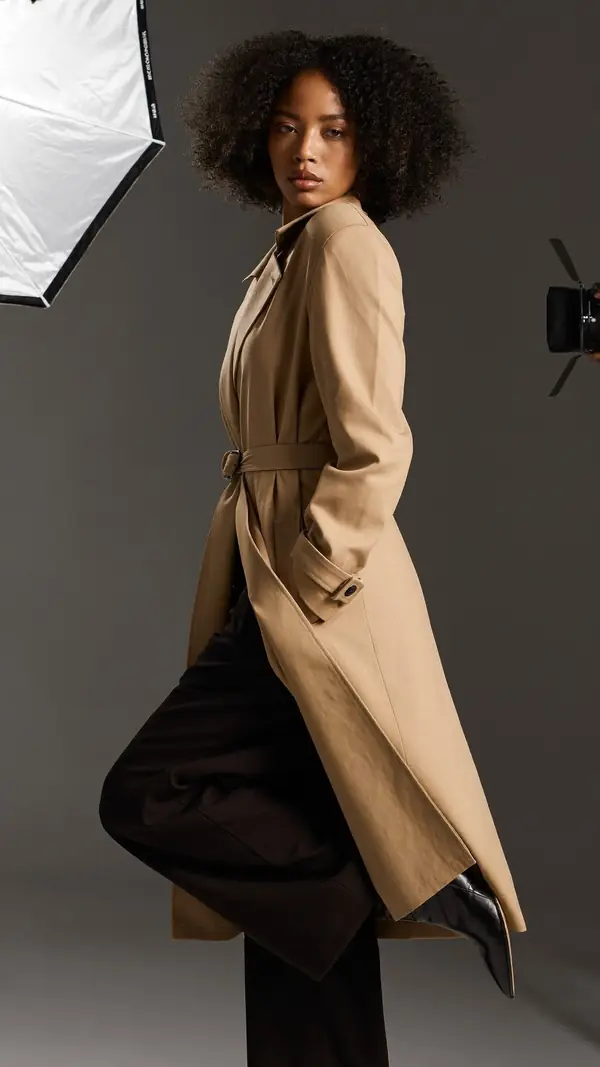
A lifted heel turns a stance into a stride, even when you hold still for the frame. Follow "Long stride, back heel lifted" and keep a "Hand tucked in the pocket" so a long coat falls open.
P-13471 cue"Long stride, back heel lifted"
Reach out and follow your hand
Extend one arm away from your body with "Palm up, arm reaching out", then lower your gaze as in "Eyes down toward the hand". The reach draws a long line across the frame, and the lowered eyes give it a quiet, editorial mood. Keep your weight on the straight leg so the stance stays steady.
P-13119 cue"Palm up, arm reaching out"
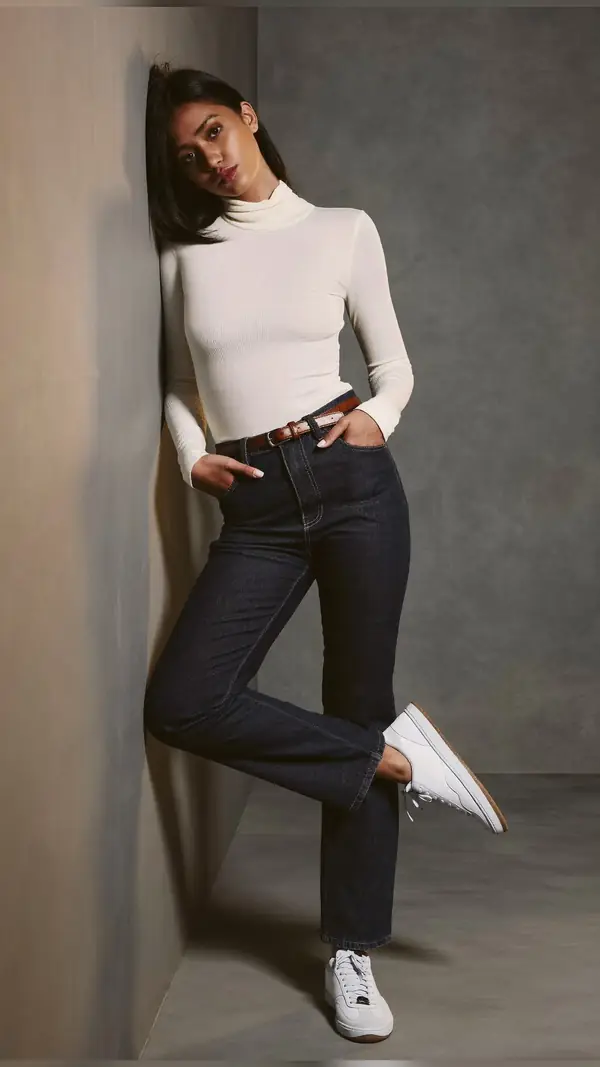
Lean on a wall with one knee bent
A wall lets you hold a strong shape between walking frames. Follow "Bent knee, foot lifted back" and "Thumbs hooked in front pockets", then turn your face toward the light.
P-13095 cue"Thumbs hooked in front pockets"
Part 03 / 09
Move between frames
Freezing in one shape is a common problem when you first learn how to pose for a photoshoot. Models hold a shape for a frame or two, then change one thing: the hands, the chin, the weight or the eyes. Each small change gives the photographer a new frame without a full reset.
Work in slow, small steps. Move a hand from your hip to your collar, turn your chin toward the light, then shift your weight to the other leg. Slow movement keeps each version sharp.
Photographers often fire a few frames at a time. Hold still while the shutter fires, then make your next small change in the pause before the next burst.
For the basics of feet, hands and chin, start with how to pose for pictures. When you run out of ideas on set, open the next pose on your board in On set.
Part 04 / 09
Photoshoot tips for seated and close-up frames
Seated and close frames depend on the hands and the head, so these four give both a job.

Look back over your shoulder
Sit with your back half turned to the camera and plant your hands behind you, as in "Hands planted behind the hips". Then "Look back over the shoulder" for a frame that feels caught in the moment. It works on a rug at home or on any clean floor.
P-13292 cue"Hands planted behind the hips"
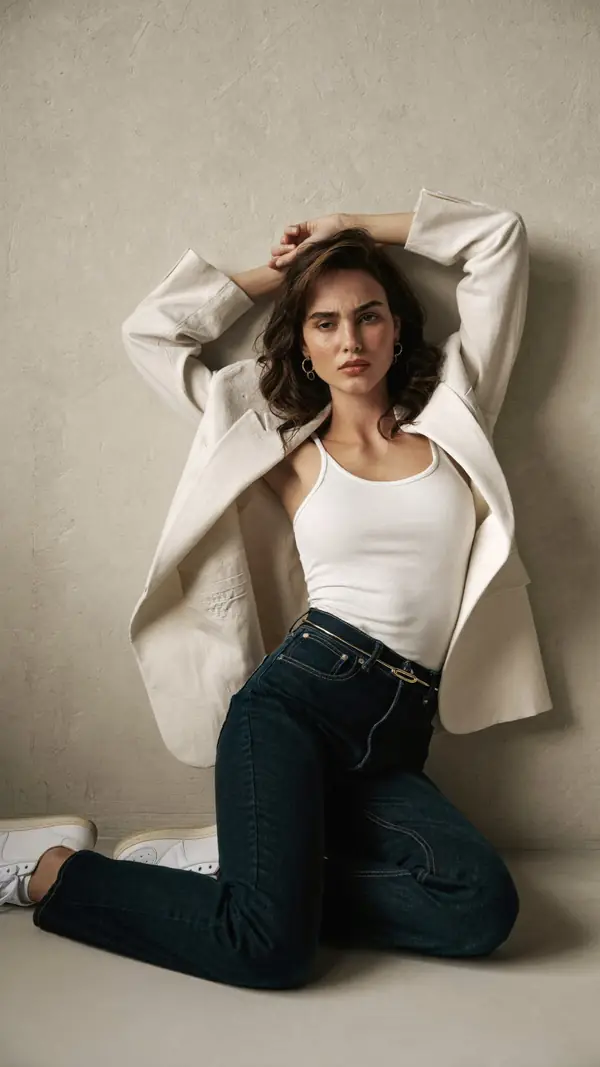
Fold your knees to one side
On the floor, folding both legs to one side draws a long, curved line. Follow "Knees fold to one side" and lift your arms into "Both hands rest on the head" against a plain wall.
P-13081 cue"Both hands rest on the head"
Frame your face with one hand
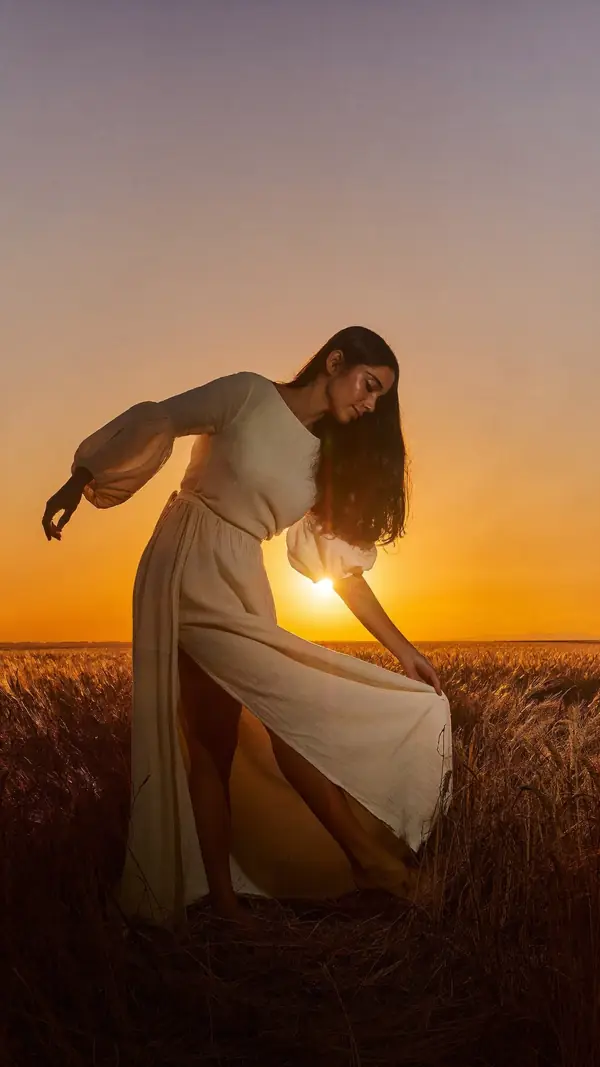
Outside at sunset, lift one hand to your head with "Hand resting on the crown" and "Look back over the shoulder". The raised arm frames your face, and the low sun lights your hair from behind.
P-13256 cue"Hand resting on the crown"
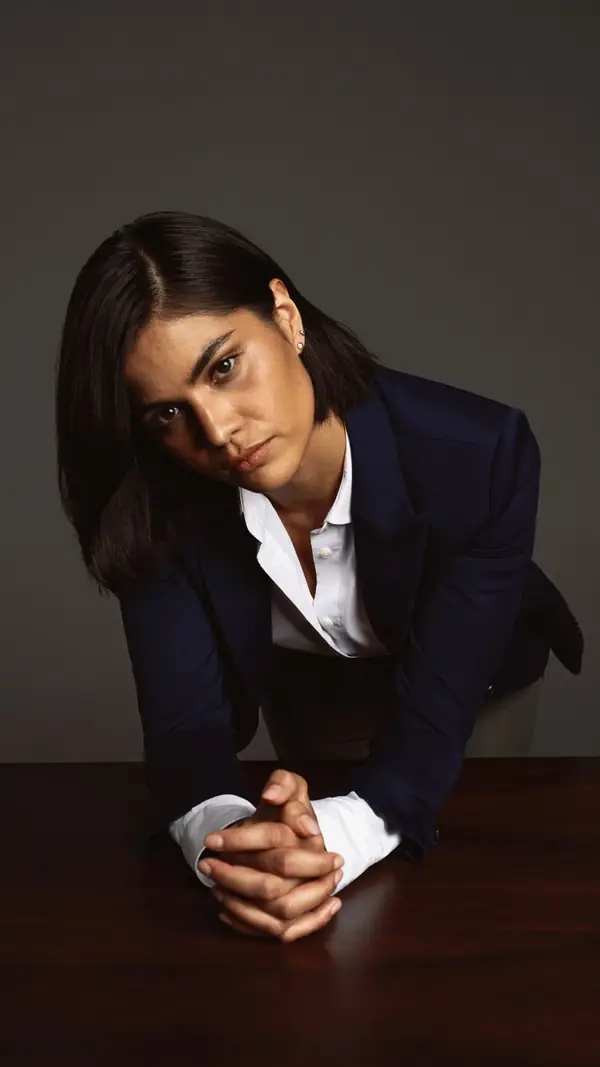
Lean on a table for a close portrait
For headshots, rest your forearms on a table and lean toward the lens. The cues "Reach both forearms across the table" and "Tilt the head, hold the gaze" bring your face forward and steady your eyes.
P-12167 cue"Reach both forearms across the table"
Part 05 / 09
Expressions, eyes and energy
Your face sets the mood of every pose, so give it as much attention as your hands and feet. Between frames, relax your mouth, breathe out and reset before the next shot. When a smile starts to feel stiff, close your eyes for a second and open them on the photographer's count.
Look slightly past the lens for a candid frame, or straight into it for a direct one. Think of something specific, such as a person you like or a plan for the evening, so your expression has a reason.
Keep your energy steady across the session. Ask for a short break between outfits, drink some water and check the board to see what comes next.
Part 06 / 09
How to pose for photoshoots in a studio, at home or outside
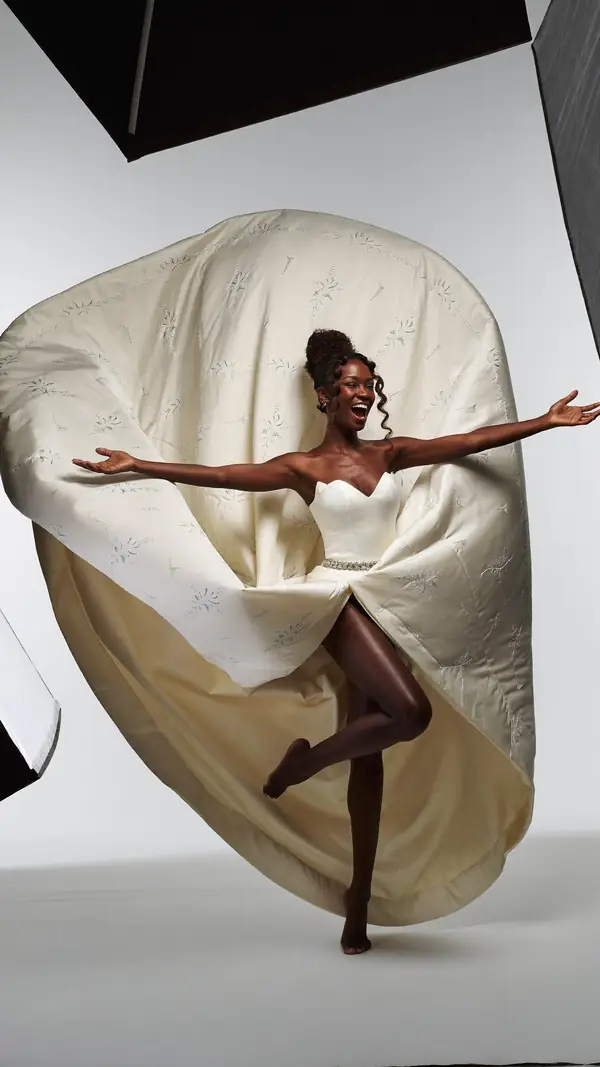
In a studio, the backdrop is plain, so the pose carries the frame. Use long lines: big steps, arms away from the body and a clear turn of the head. Pick clothes that stand apart from the backdrop, since a dark outfit fades into a dark wall.
At home, use the furniture and the floor. Sit back on your hands, fold your knees to one side or lean on a table, with window light coming from the side. Soft knits and bare feet suit a home set and look relaxed on a rug.
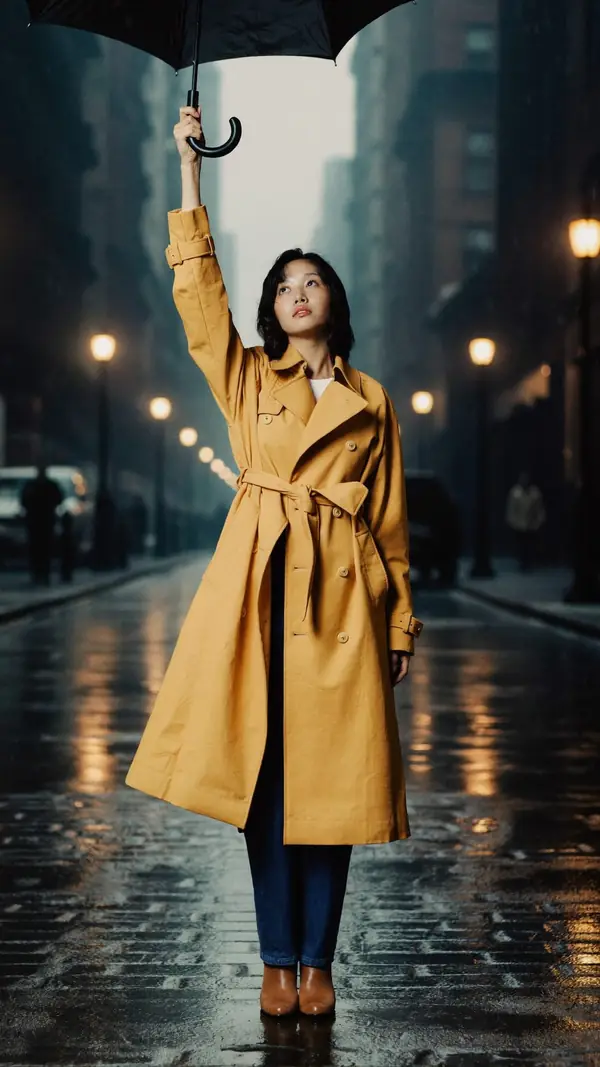
Outside, plan around the sun. The hour before sunset gives warm, soft light from a low angle, and a field or a quiet street gives you room to walk. A light dress or a long coat catches the wind and adds movement to every step.
The library holds 4,947 fashion and editorial poses, so browse the model poses for each setting you plan. For themes and locations, see the photoshoot ideas guide.
Part 07 / 09
8 photoshoot poses to practice
These eight show how to pose for a photoshoot in a studio, at home, against a wall and outside at sunset. All are marked intermediate, so learn the two cues on each and practice them before the day.
- P-13119
Standing Woman
intermediate- 1Palm up, arm reaching out
- 2Eyes down toward the hand
- Weight
- Weight on straight leg
- Shoulders
- 4° drops left
- Hips
- 2° drops left
confident · studio gray · full body
- P-13487
Walking Woman
intermediate- 1Long step, front leg reaching
- 2Back hand tucked at hip
- Weight
- Mid-stride, front foot
- Shoulders
- 15° drops right
- Hips
- 7° drops right
confident · studio white · full body
- P-13292
Seated Woman
intermediate- 1Hands planted behind the hips
- 2Look back over the shoulder
- Weight
- Seated, braced on hands
- Shoulders
- 7° drops left
- Hips
- 49° drops left
confident · home · three quarter
- P-13256
Standing Woman
intermediate- 1Hand resting on the crown
- 2Look back over the shoulder
- Weight
- Upper body only
- Shoulders
- 65° drops left
- Hips
- 19° drops right
confident · nature · three quarter
- P-13095
Leaning Woman
intermediate- 1Thumbs hooked in front pockets
- 2Bent knee, foot lifted back
- Weight
- Leaning into the wall
- Shoulders
- 9° drops left
- Hips
- 7° drops left
confident · wall · full body
- P-12167
Leaning Woman
intermediate- 1Reach both forearms across the table
- 2Tilt the head, hold the gaze
- Weight
- Weight on both forearms
- Shoulders
- 11° drops left
- Hips
- 3° drops left
confident · desk · three quarter
- P-13471
Walking Woman
intermediate- 1Long stride, back heel lifted
- 2Hand tucked in the pocket
- Weight
- Weight on front leg
- Shoulders
- 14° drops left
- Hips
- 0° level
confident · studio gray · full body
- P-13081
Seated Woman
intermediate- 1Both hands rest on the head
- 2Knees fold to one side
- Weight
- Seated on the floor
- Shoulders
- 7° drops left
- Hips
- 22° drops right
confident · floor · full body
Part 08 / 09
Work with your photographer
The last part of how to pose for a photoshoot is talking to the person behind the camera. Tell your photographer which side of your face you prefer and which poses you saved.
Ask for direction in plain words, such as chin down, weight back or softer hands. If a pose feels wrong, say so and move on to the next one on the board.
Check a few frames together early in the session. Small fixes at the start, like a hand that looks tense, carry through to every photo after. If you model often, see how Poses4You for models fits into your prep.
Part 09 / 09
Questions about how to pose for a photoshoot
How do I give poses for a photo shoot?
Pick a few poses before the day and learn their cues. On set, hold each shape for a frame or two, then change one thing, such as your hands, chin or weight. Ask the photographer which frames work so you can repeat them.
How do I pose like a model if I have never modeled?
Copy real poses instead of inventing them on the spot. Start with walking poses and wall leans, which feel natural for beginners, and keep every movement slow. Practice in a mirror first so the shapes feel familiar on the day.
How many poses should I plan for a photoshoot?
Plan a few poses for each outfit and each spot, plus a handful of extras in case the light or the clothes change the plan. Keep them on one board per shoot and put the poses you must have first. Your photographer will add variations as you go.
What should I do with my hands during a photoshoot?
Give them a light job: a pocket, a hip, your hair or the edge of a table. Keep the fingers relaxed and the touch soft. Changing only the hands between frames gives you a new look without a new pose.
How do I relax in front of the camera?
Breathe out before each frame and let your shoulders drop. Talk with the photographer while you work, and move between shots instead of freezing. Start with easy poses so the first few minutes feel like a warm-up.
What should I practice before a photoshoot?
Practice your walk, a look back over the shoulder and two or three seated poses. Learn how your face looks with the chin forward and slightly down. A short session in a mirror the day before makes the shapes feel familiar.
Keep exploring
Related pages
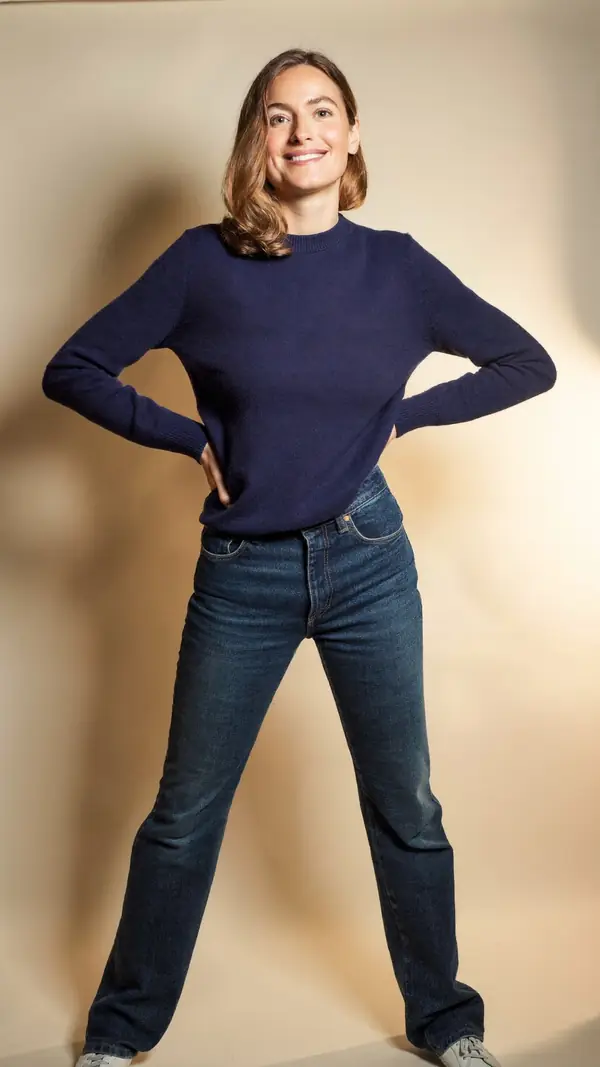 7 min readHow to pose for picturesSimple posing tips for your feet, hands, shoulders and chin, with eight beginner poses to copy.
 8 min readPhotoshoot ideasIdeas for home, outdoors and bold studio frames, with real poses and cues to copy.
 4,947 posesModel posesFashion and editorial poses for portfolios, lookbooks and test shoots, each with two cues.
 Who it's forFor modelsLearn poses from two cues each and rehearse them with Live Guide before the shoot.
 In the appBoards and On setSave poses into a board for each shoot, then show them full screen on the day.
From pose ideas to directing the shotFrom pose ideas to directing the shot
Free to download on iPhone.